

While on the quest to capture your next Pokemon, you might encounter a rare one and feel the need to capture a quick photo. The knowledge of how you can take a snapshot in Pokemon GO will surely help you out with your quest and give a whole new experience to the game.
Pokemon Go allows you to collect memories with these Pokemon. You can take pictures for your enjoyment and show off, or you need them to level up some quests. Anyhow, if you are new to this game or don’t know how to take a snapshot, we are here to guide you to your first snapshot with a Pokemon.
How to Take a Snapshot of a Wild Pokemon
In Pokemon GO, wild Pokemon are those Pokemons that are currently not owned by a player. You can encounter them in various places on the map mostly outside of cities and towns.
Navigating to Photo Mode
If you encounter a Pokemon in the wild and want to take its photo, instead of throwing a Pokeball you can start tapping on it as if you were trying to catch it. Now to enter the photo mode, click on the camera icon at the top of your screen.
Taking the Snapshot
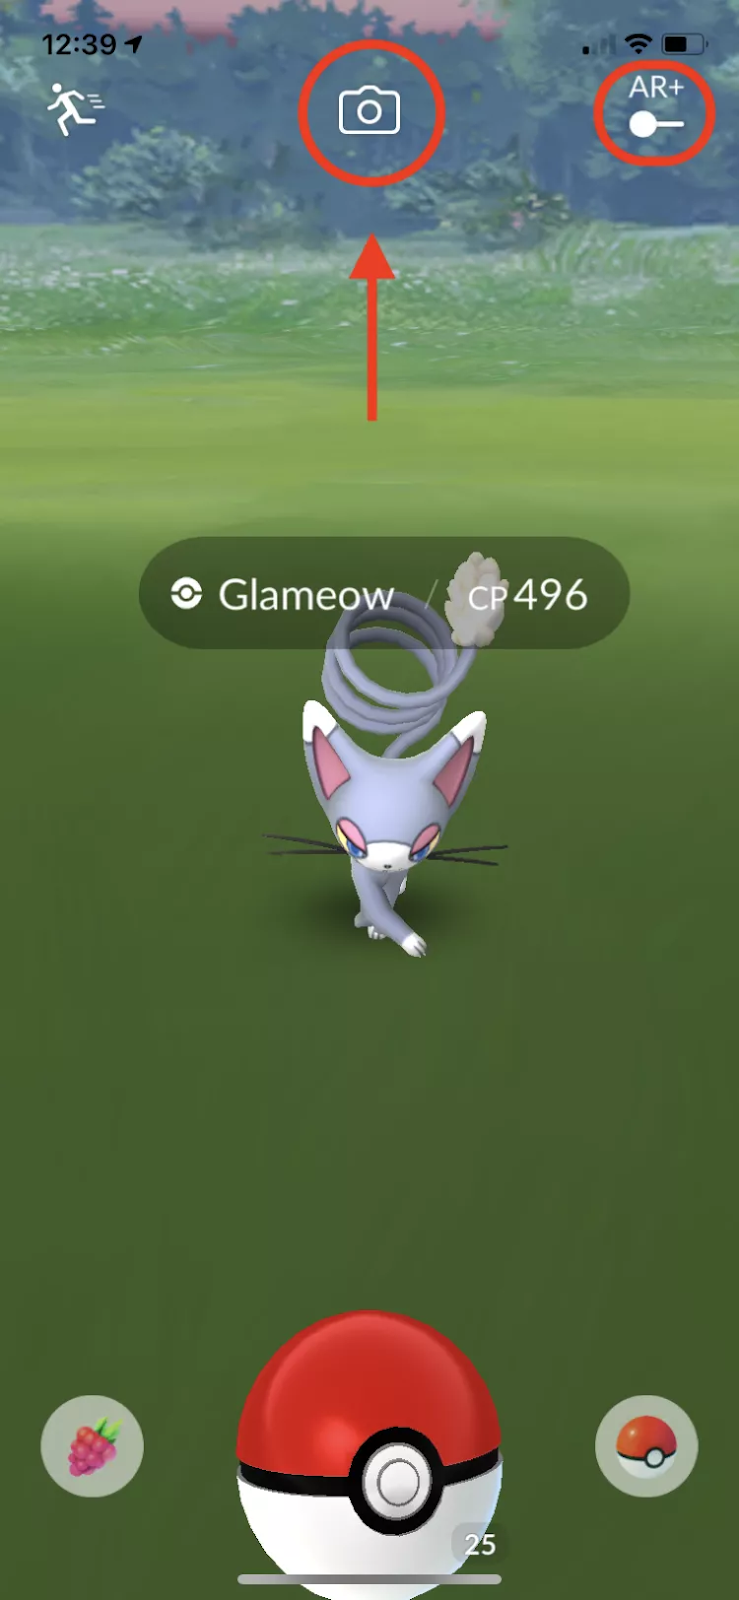
If you find a Pokemon, start taking pictures by simply pressing the white camera button on your game screen. The app makes a satisfactory shutter sound and shows you the photo you just took.
Save or Delete the Snapshot
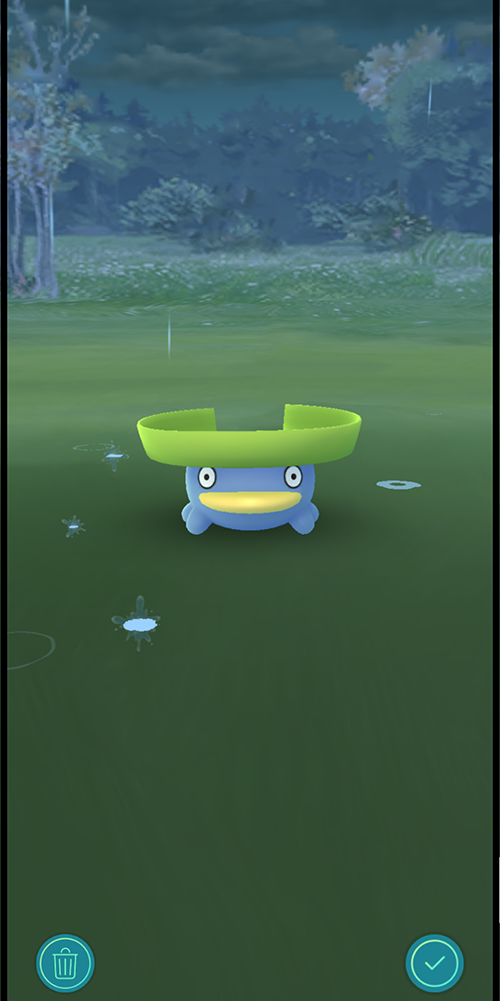
Once you’ve taken the snapshot, you’ll either like that picture or want to take that snapshot again. You’ll have two options now:
- Checkmark: It will save the clicked snapshot.
- Trashcan: It will delete the click snapshot.
Take a Snapshot of Your Pokemon in Pokemon GO
You can also take a snapshot of your Pokemon in Pokemon GO. If you want to know how then follow this step-by-step guide.
- Navigate through the main menu.
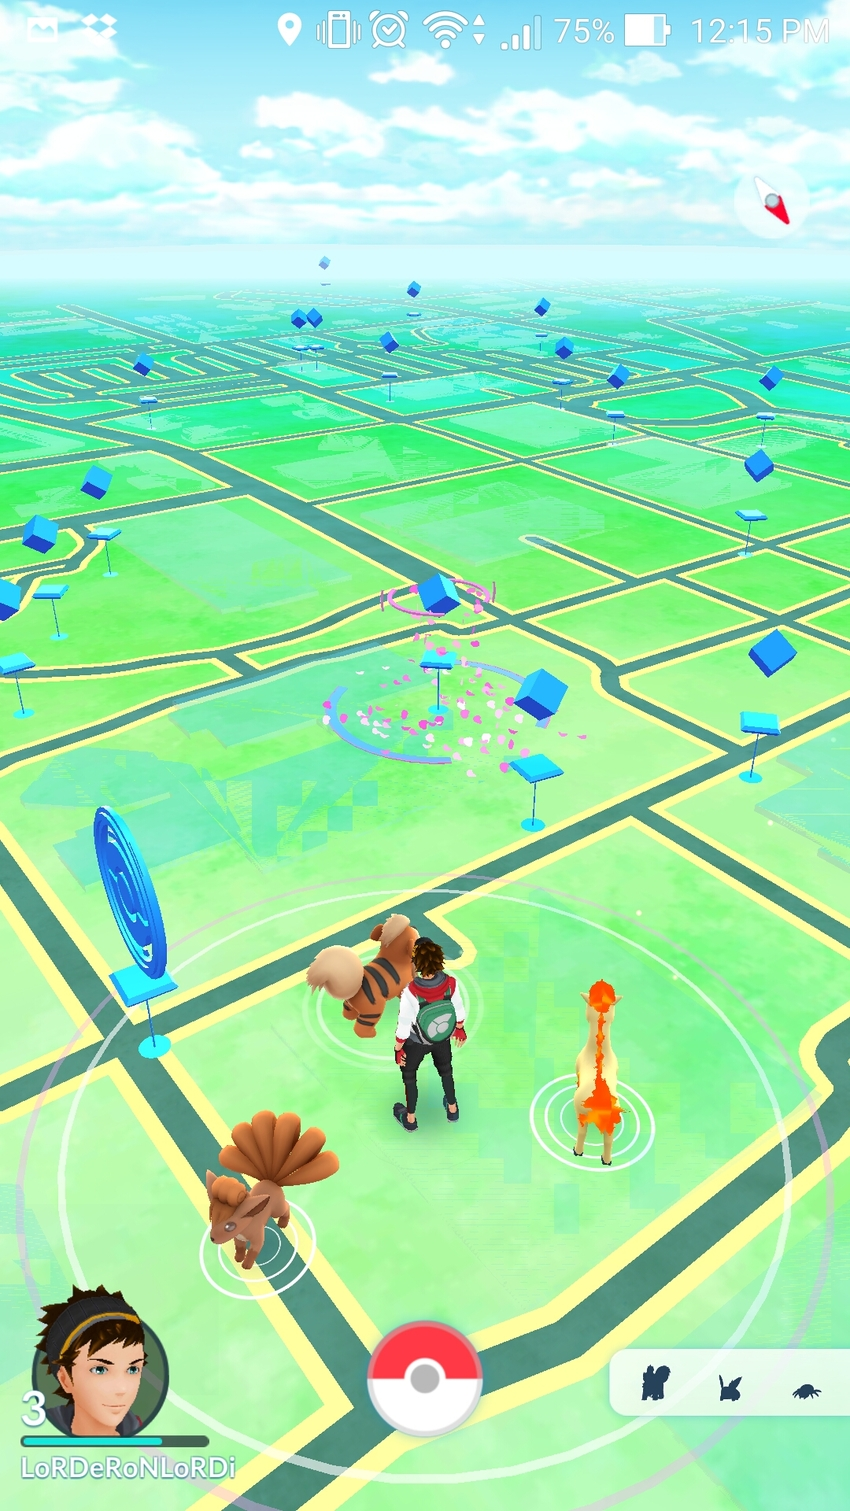
After launching the Pokemon Go app, you can spot the in-game characters on a map. Now, you have to tap the Pokeball icon located at the bottom of your game screen.
- Select the “Pokemon” Icon.
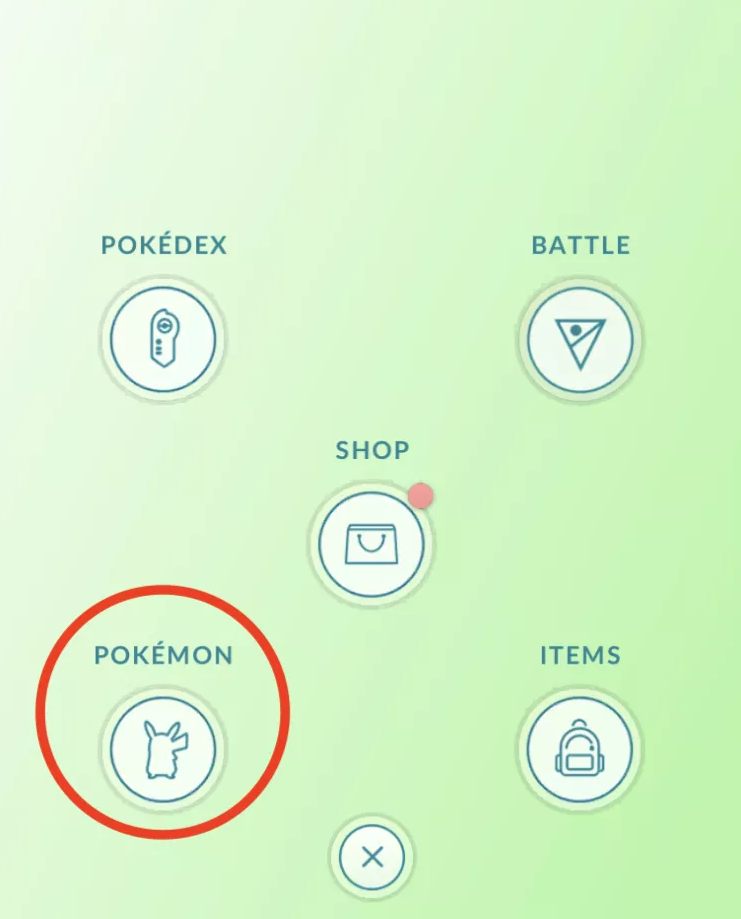
Next, you have to select the Pokemon icon as shown in the above screenshot. In that option, you can find all your Pokemons in your inventory.
- Select any Pokemon.
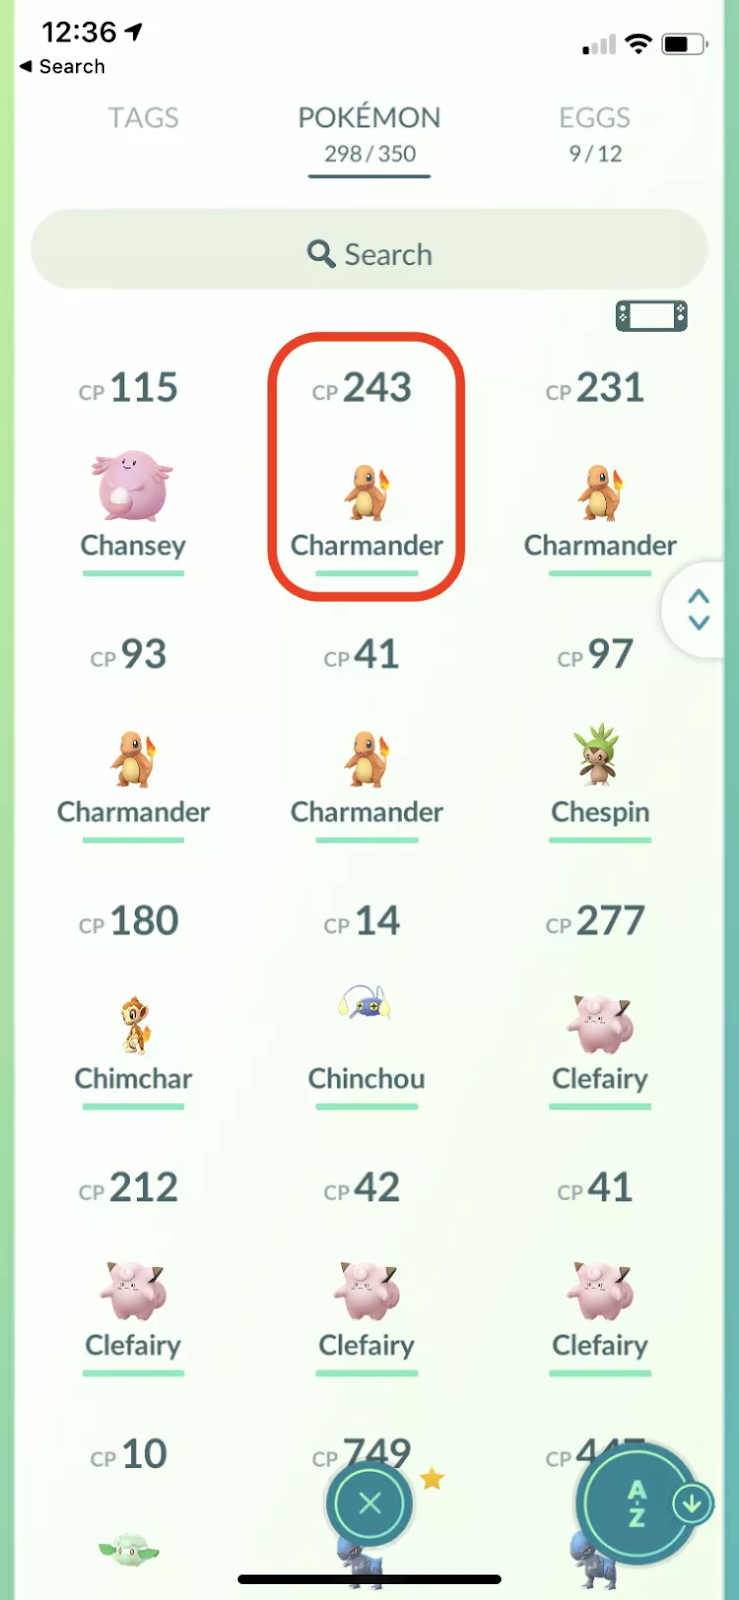
Now go ahead and select the Pokemon for which you want to take a snapshot.
- Tap on the “Camera” icon.
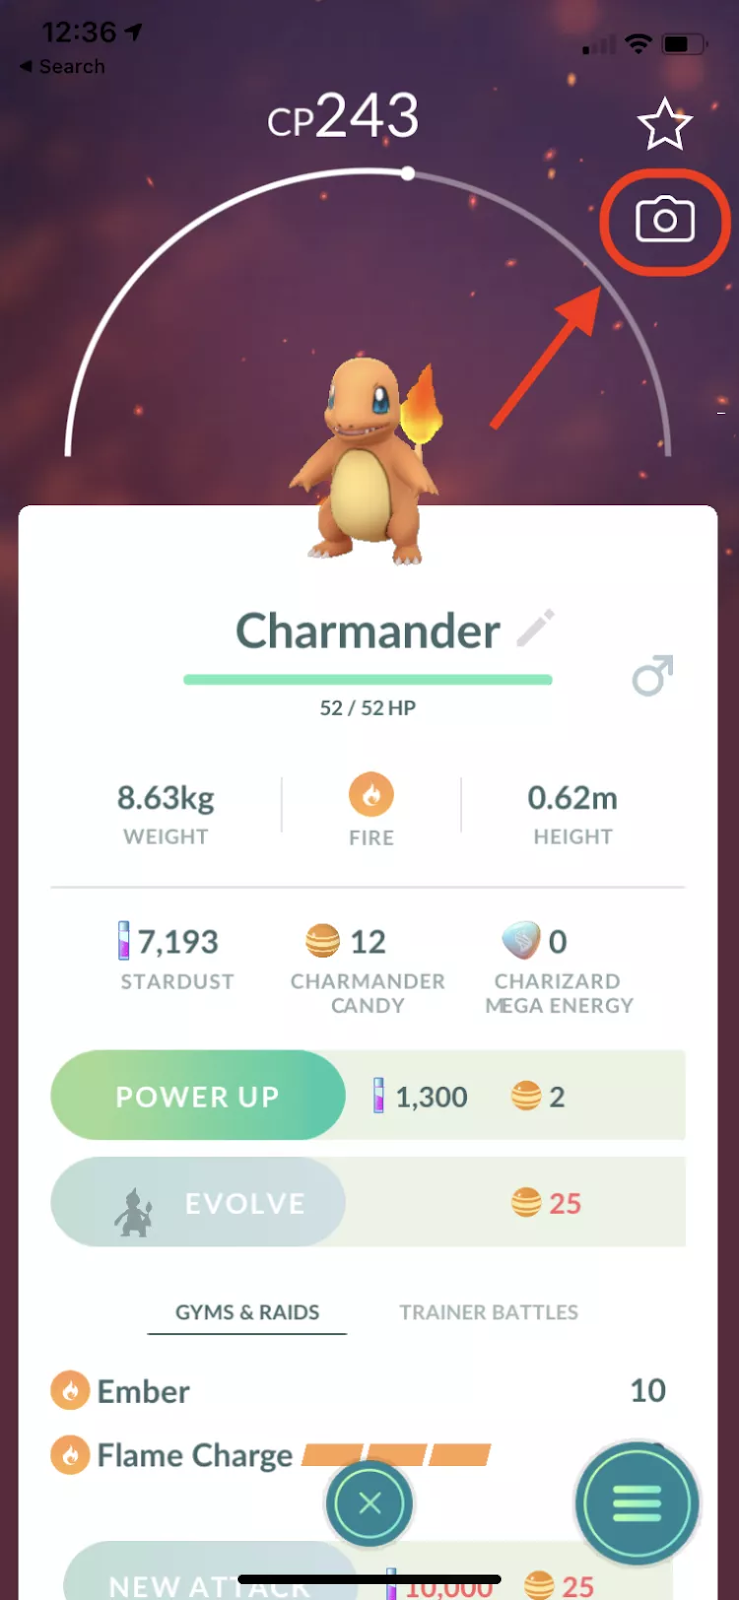
Once you choose the Pokemon then, go ahead and tap the “Camera” icon (it should be located in the upper right corner of the screen).
- Find the Pokemon in AR mode.
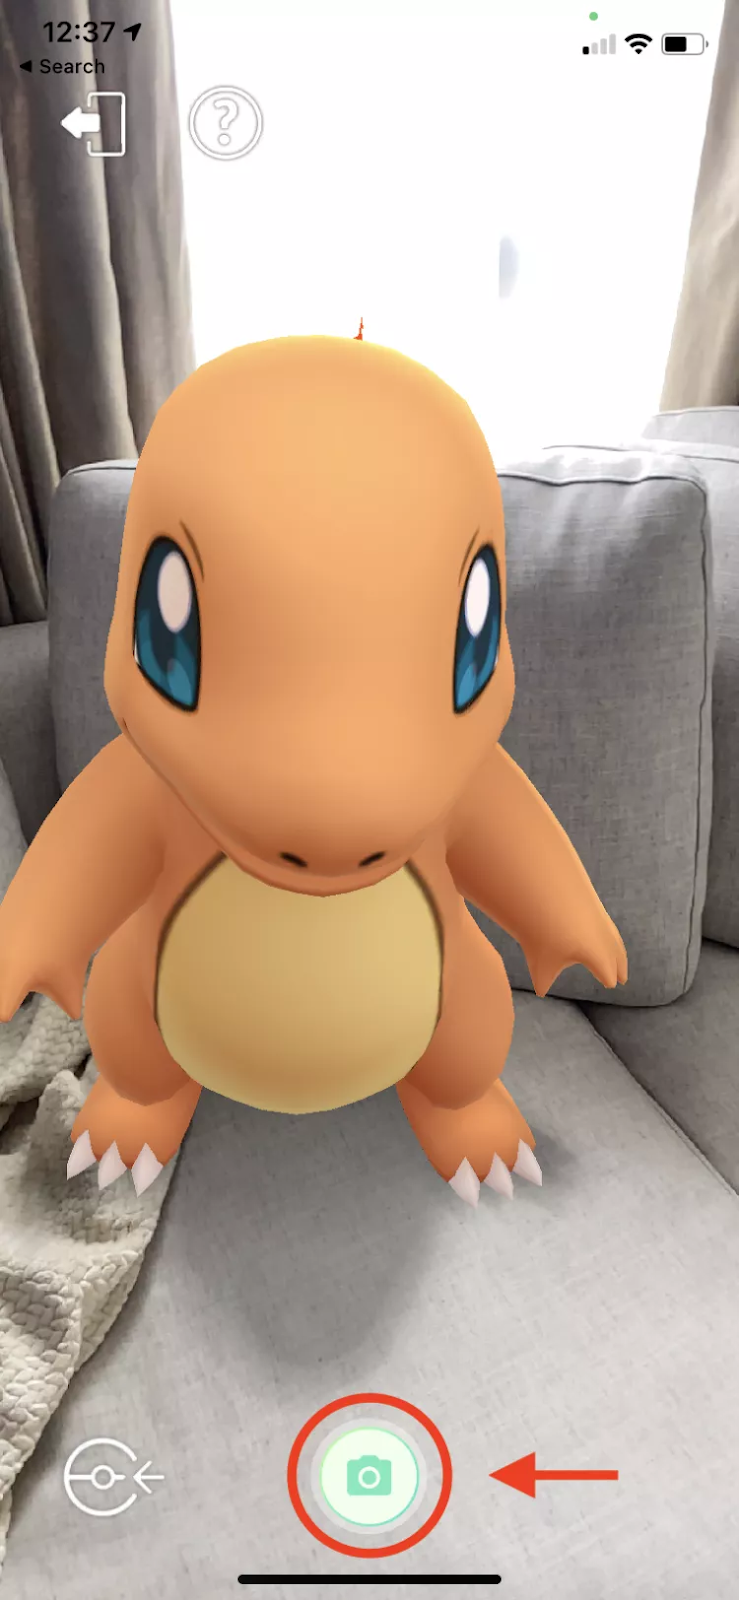
Use your device to look around and find the best place (preferably a flat surface) to place your Pokemon. If you are using AR +, you should be able to find the yellow footsteps. Tap on those spots to make Pokemon appear on the preferred location. Once you are satisfied with the positioning of the Pokemon, then tap on the camera icon for taking a snapshot.
- Snap gets saved in your gallery.
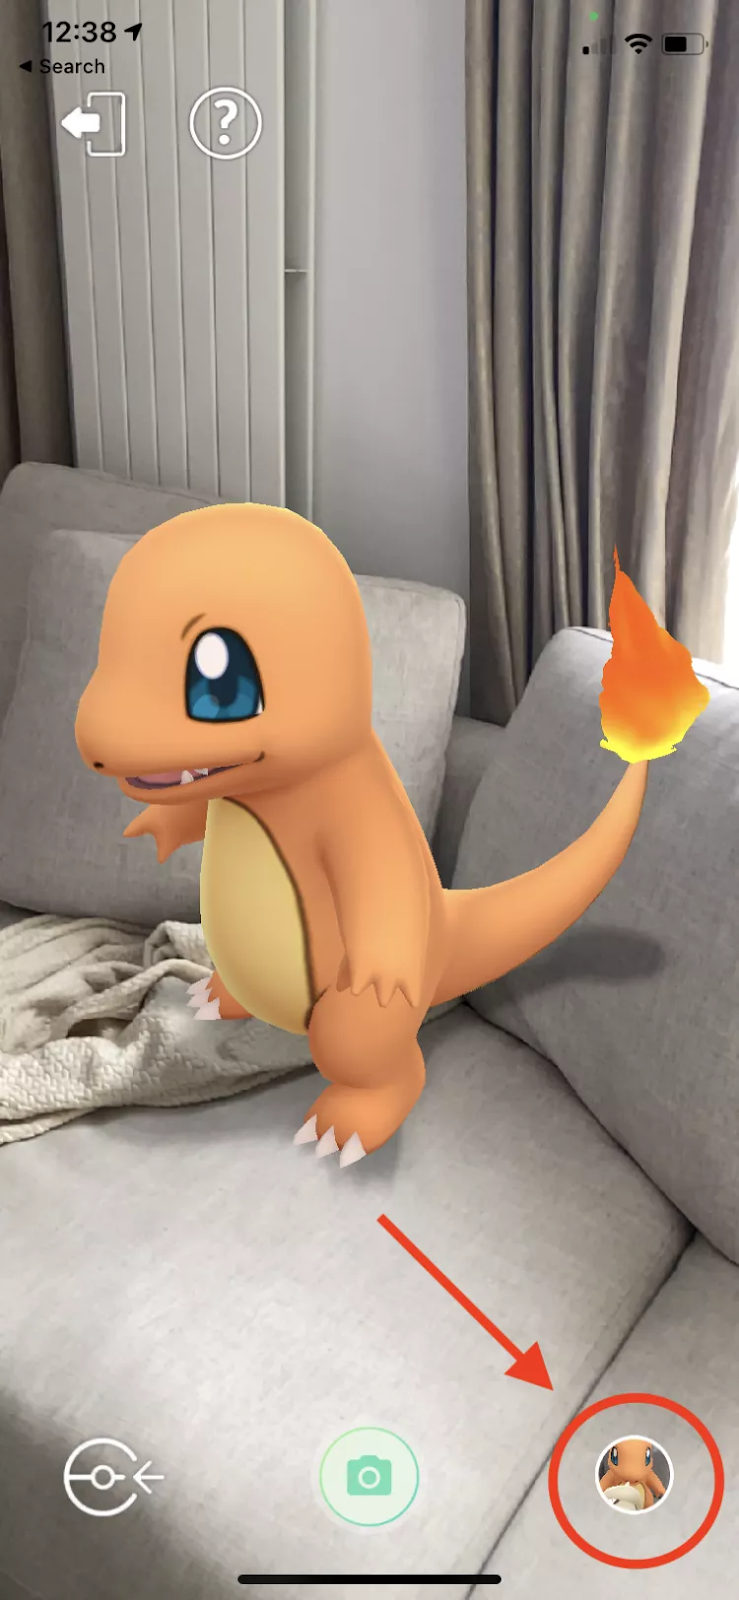
Once you have taken the snapshot of the Pokemon, you can see a “Gallary” icon in the bottom right corner. Click on that icon and your previously clicked snapshot will appear on your screen.
Now you can browse all the snapshots that you took earlier. Additionally, you can share these snapshots with your friends on your social media platforms.
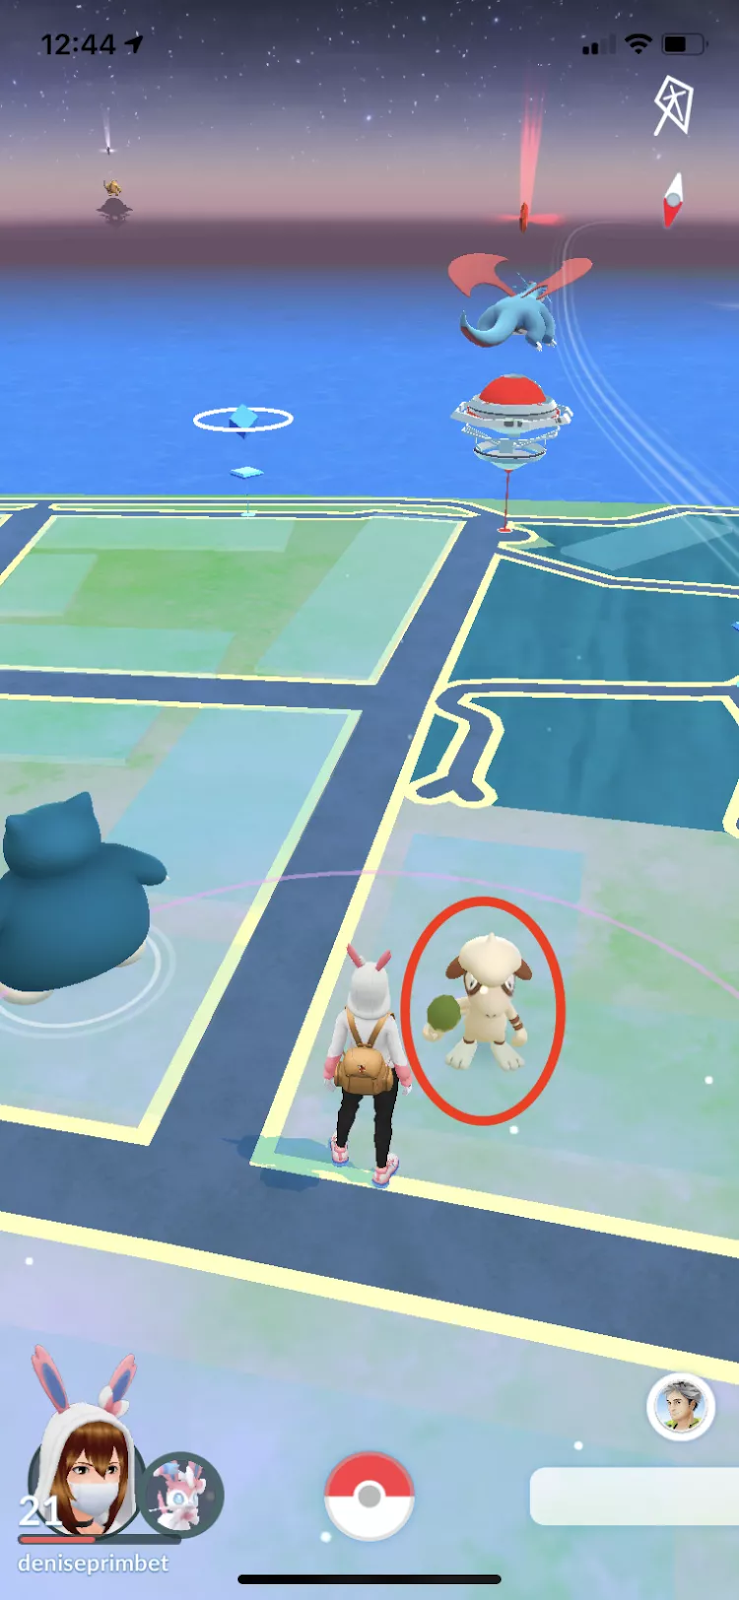
Surprise Encounters in Pokemon GO Snapshots!
Every once in a while, a special Pokemon will photobomb your snapshots! You can find out about that at the end of your photoshoot.
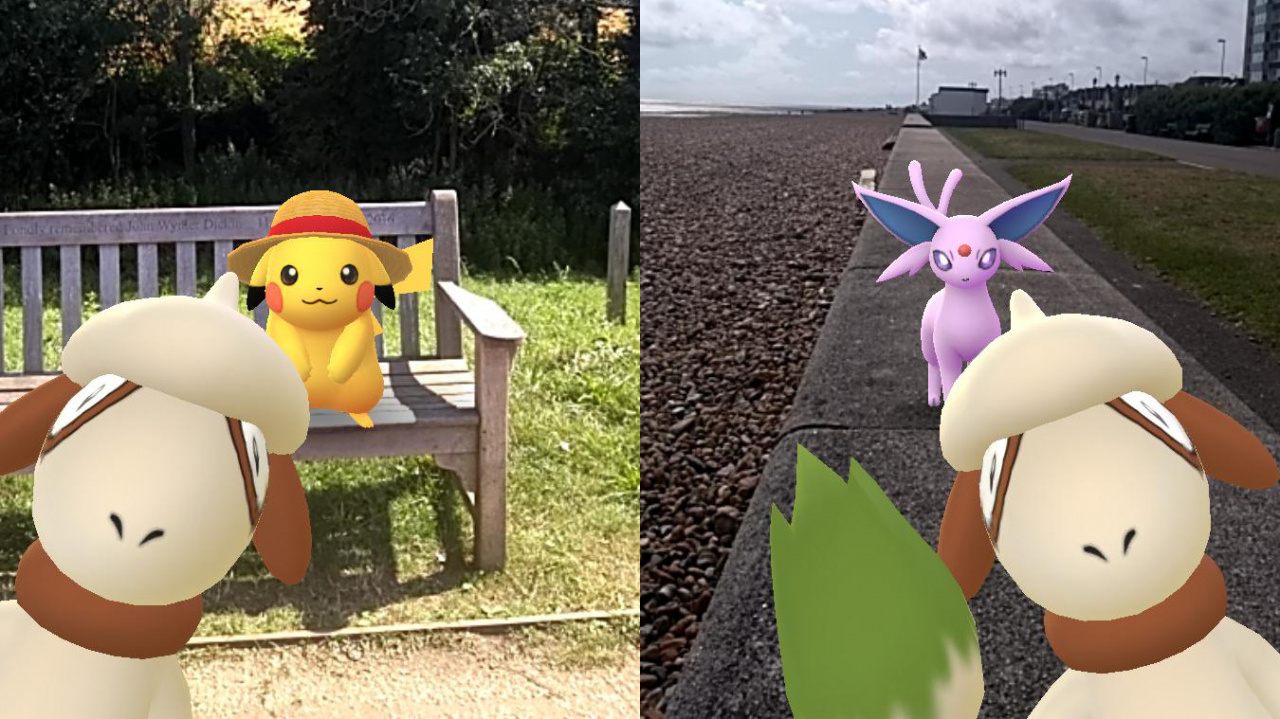
That Pokemon is known as Smeargle, this is the only way by which you can encounter this Pokemon. One thing to keep in mind is that this will only happen, or work when you take pictures in AR mode and with your Pokemon. You can only catch Smeargle during this encounter.
That’s all you need to know to take a snapshot in Pokemon GO. If you’re done taking snapshots in AR mode and want to turn it off, check out how to turn off AR in Pokemon GO. The AR mode drains your battery quite quickly and it’s best to keep it off.